Residential Dry Rot Repair Seattle | Wood Rot Fix for Water-Damaged Homes
Rotting wood is a common issue for homeowners, especially on exterior decorative wood components like trim, siding, and window frames. This damage can be caused by prolonged exposure to water, leading to dry rot or termite infestation. Left untreated, rotting wood can compromise the structural integrity of your home.
Fortunately, there are effective ways to repair rotting wood without having to completely replace it. Using specialized wood hardeners, fillers, and replacement compounds, you can restore damaged areas and prevent further deterioration. Even pressure-treated wood can be salvaged with the right techniques. In some cases, the best approach might involve replacing severely damaged sections of wood alongside using hardeners and fillers, which can be a faster and stronger solution than traditional wood replacement methods.
In this blog post, we’ll explore step-by-step methods for repairing rotting wood, from removing softened material to shaping and finishing the repaired area. With the right tools and products, you can revive your home’s decorative wood components and maintain its structural stability.
Remove Rot-Softened Wood
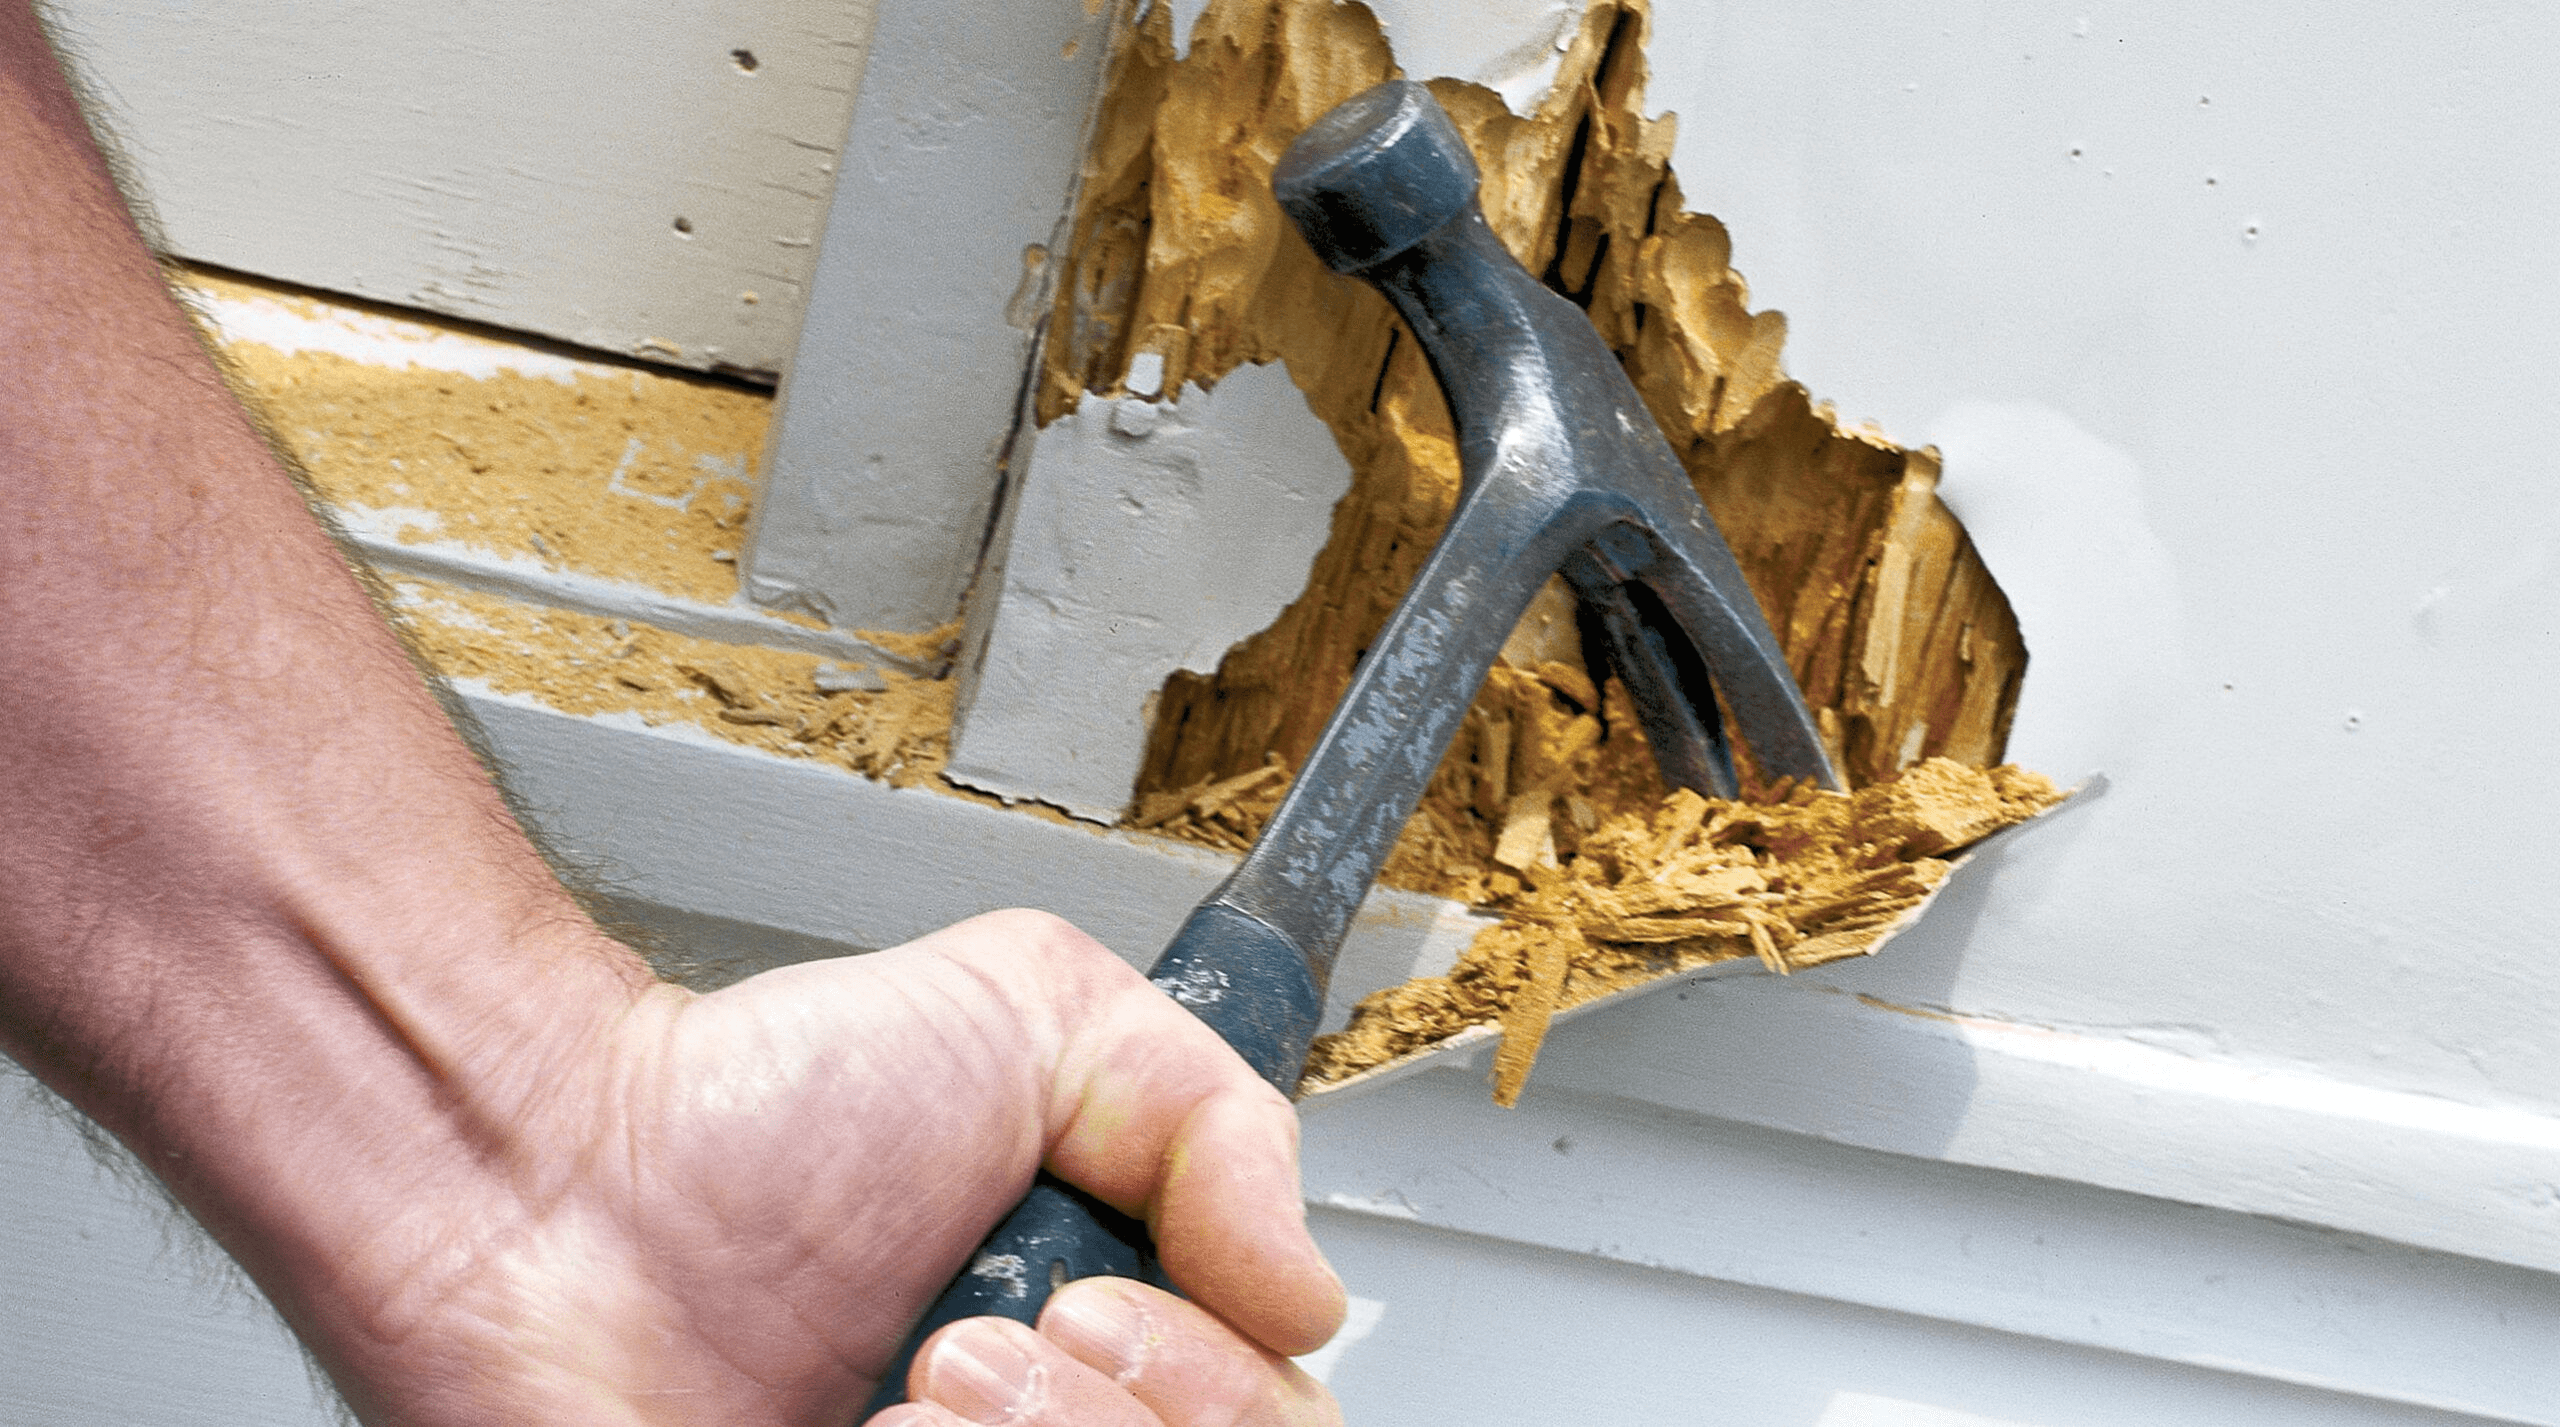
Dealing with rotting wood can be a frustrating and time-consuming task, but it doesn’t have to mean complete replacement. Whether you’re facing wet rot or dry rot, the first critical step in the repair process is to remove rotted wood. This involves using a sharp tool to carefully remove the softened, rotted wood, ensuring that all compromised material is cleared away. After this, you can proceed with repairing the damage using specialized wood hardeners, epoxy fillers, and wood replacement compounds.
How to determine if rotten wood needs to be repaired or replaced?
To determine if rotten wood needs to be repaired or replaced, use a wooden stick to probe the affected area. If the wood is soft and crumbles easily, it's likely too far gone and will need to be replaced. Look for other signs like peeling paint, which can indicate underlying rot. If the damage is limited to the surface and the underlying wood is still solid, the area can likely be repaired rather than replaced.
The extent of the rot is the key factor in deciding whether to repair or replace. Gently probe the wood with a stick to assess its condition. If the wood is soft, spongy, or crumbles easily, it has likely deteriorated too much and will need to be replaced. However, if the rot is more superficial and the underlying wood is still solid, repair may be a viable option.
Types of Rotting Wood – Dry Wood Rot and Termite damage
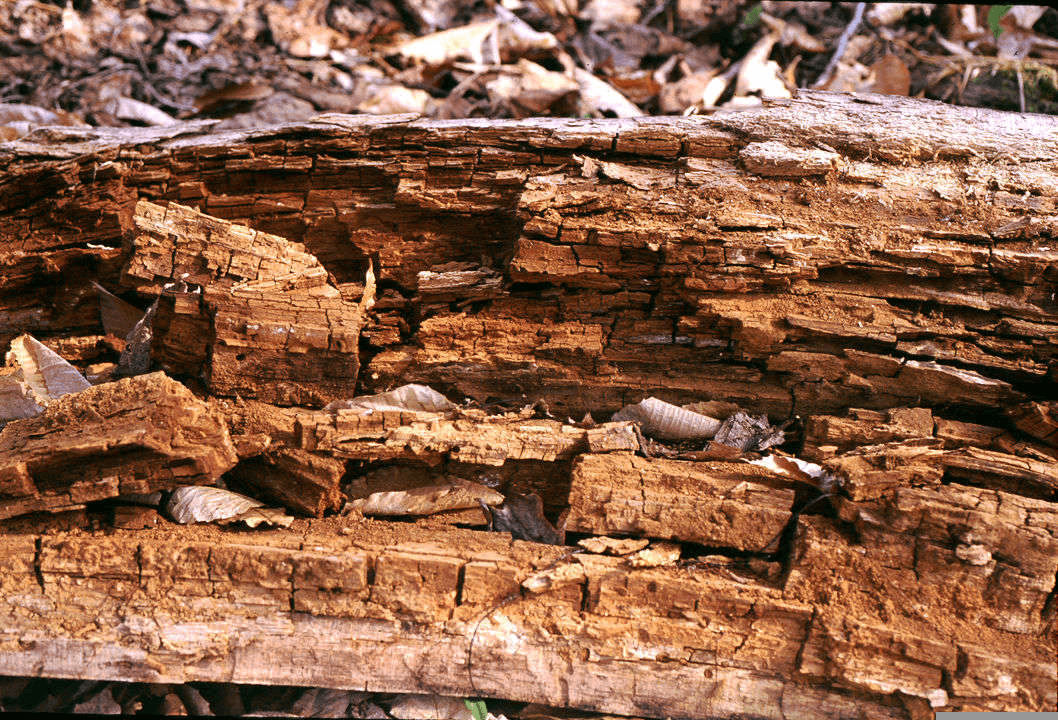
Dry wood rot and termite damage are two common types of wood rot that can compromise the structural integrity of a home. Dry rot is caused by a fungus that feeds on the cellulose in wood, while termites burrow through the material, leaving it weak and unstable. Both can be difficult to detect until significant damage has occurred.
Dry rot is a particularly insidious form of wood decay caused by certain types of fungi. These fungi feed on the cellulose in the wood, gradually weakening and deteriorating the material over time. Termite damage, on the other hand, is caused by small insects that tunnel through the wood, leaving it riddled with holes and structurally compromised. Both types of rot can be challenging to identify and address before they cause major problems.
How to Repair Wood Damaged by Dry Rot
To repair wood damaged by dry rot, first remove any softened or crumbling wood using a chisel or saw. Then, apply a wood hardener to the affected area to strengthen the remaining wood. Finally, fill the void with a wood replacement compound, epoxy filler, or structural adhesive putty. This process can be used on both structural and decorative wood components in old house projects.
Begin by carefully removing any softened, crumbling wood caused by the dry rot using a chisel or saw. This will help expose the underlying sound wood that can be repaired. Next, apply a wood hardener to the affected area to strengthen and stabilize the remaining wood. Once the hardener has dried, fill the void with a wood replacement compound, epoxy filler, or consider using structural adhesive putty for enhanced durability and resistance to water and insects. This approach can be effective for repairing both structural and decorative wood elements in older homes.

Shape and smooth
After removing the rotted wood, use a chisel or plane to shape and smooth the surrounding wood. This will create a clean, even surface for the repair. Be careful not to remove too much of the good wood in the process. Once the area is properly prepared, you can move on to filling the void with a wood repair compound.
Shaping and smoothing the wood is a crucial step in the wood rot repair process. Use a chisel or plane to carefully remove any remaining softened or crumbling material, creating a clean, even surface for the filler. Take care not to damage the surrounding solid wood in the process. With the area properly prepared, you can then apply the wood hardener and filler to restore the damaged section.
Repair wood with polyester filler: Apply wood hardener and filler
After removing the rotted wood, apply a wood hardener to the affected area to strengthen the remaining material. This will help the surrounding wood better accept the filler. Then, use a polyester-based wood filler to fill the void, building it up in layers if necessary.
To repair the wood using a polyester filler, start by applying a wood hardener to the affected area. This will help strengthen the remaining solid wood and allow the filler to better adhere. Next, use a polyester-based wood repair compound to fill the void, building it up in layers if needed to match the surrounding wood. This process can effectively restore the structural integrity of the damaged section. This repair method is also effective for both structural and decorative parts, emphasizing the versatility of the repair methods in restoring and strengthening a wide range of wood components.

Which wood filler to use?
For wood rot repair, it's best to use an epoxy-based filler or a polyester-based wood repair compound. Epoxy fillers provide excellent adhesion and durability, while polyester fillers are easier to sand and shape. Avoid using standard wood putty, as it may not have the strength to withstand further deterioration.
When repairing rotted wood, the type of filler you choose is important. Epoxy-based fillers offer superior adhesion and durability, making them a good choice for structural repairs. Polyester-based wood repair compounds are also effective and easier to sand and shape. Avoid using standard wood putty, as it may not have the strength to prevent further deterioration.
What you need to repair rotten wood
To effectively repair rotted wood, you'll need a few key tools and materials. Start with specialty epoxy penetrants that can soak into and strengthen the damaged wood. A sanding block and chip brush will also be helpful for preparing the surface and applying fillers. Make sure to have a clean plastic container on hand for mixing any repair compounds. With the right products and a little elbow grease, you can restore rotted wood without having to replace it entirely.
Repairing rotted wood requires the right tools and materials. Specialty epoxy penetrants are essential, as they can soak into and strengthen the damaged areas. A sanding block and chip brush will also come in handy for preparing the surface and applying any fillers or compounds. Be sure to have a clean plastic container available for mixing repair products. With these key items, you'll be well on your way to restoring rotted wood without the need for full replacement.
Can rotted or damaged wood be repaired?
In many cases, rotted or damaged wood can indeed be repaired rather than replaced. The key is to first remove any severely softened or crumbling material, then use specialized wood hardeners and fillers to restore the affected area. As long as the underlying structure is still sound, the damaged wood can often be salvaged through this repair process. However, if the rot has progressed too far and compromised the wood's integrity, replacement may be the only option.
Yes, it is often possible to repair rotted or damaged wood rather than having to replace it entirely. The first step is to carefully remove any severely softened or crumbling material. Then, you can apply an epoxy consolidant to soak into and strengthen the remaining solid wood. This will help prepare the area for the filler or other repair compounds. As long as the underlying structure remains sound, the damaged wood can typically be saved through this repair approach.
5 Ways to Repair Rotted Wood Without Replacing It
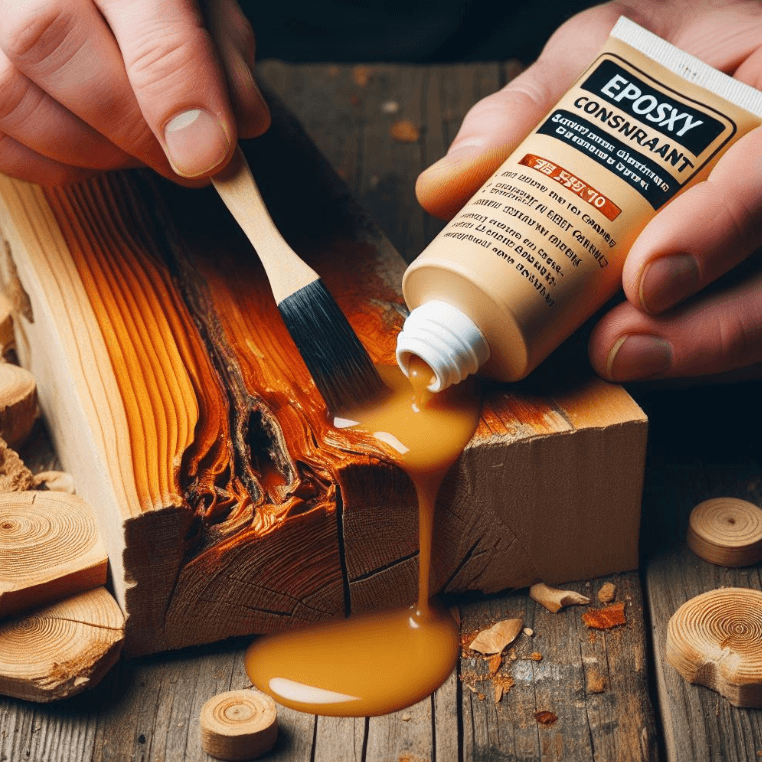
Use an epoxy consolidant to soak into and strengthen the damaged wood. This can help stabilize the material before applying a filler.
Apply an epoxy-based wood filler to fill in gaps and restore the surface. Sand it smooth once dry.
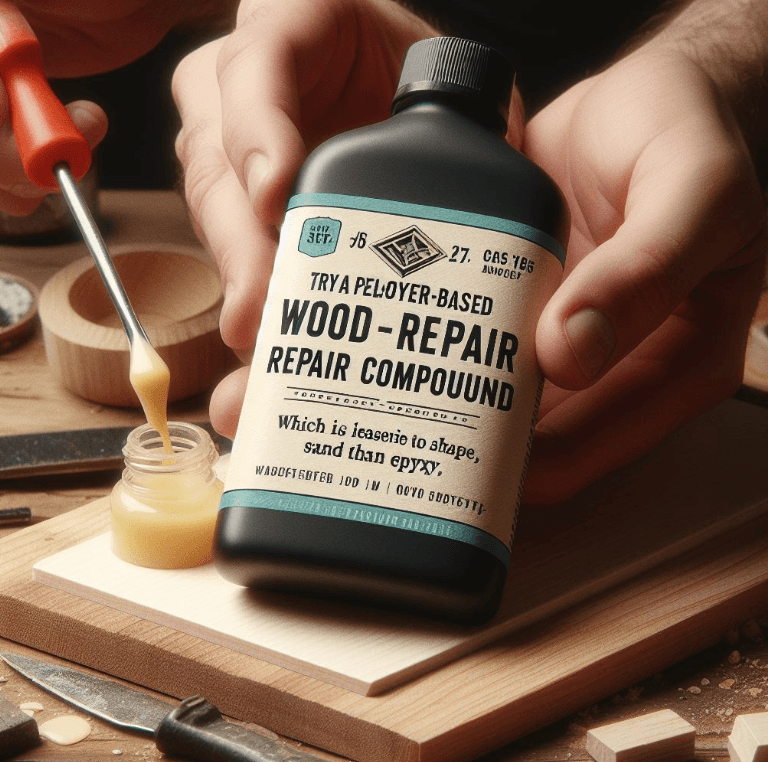
Try a polyester-based wood repair compound, which is easier to shape and sand than epoxy.
For decorative wood components, use a wood replacement compound to fill in damaged areas.
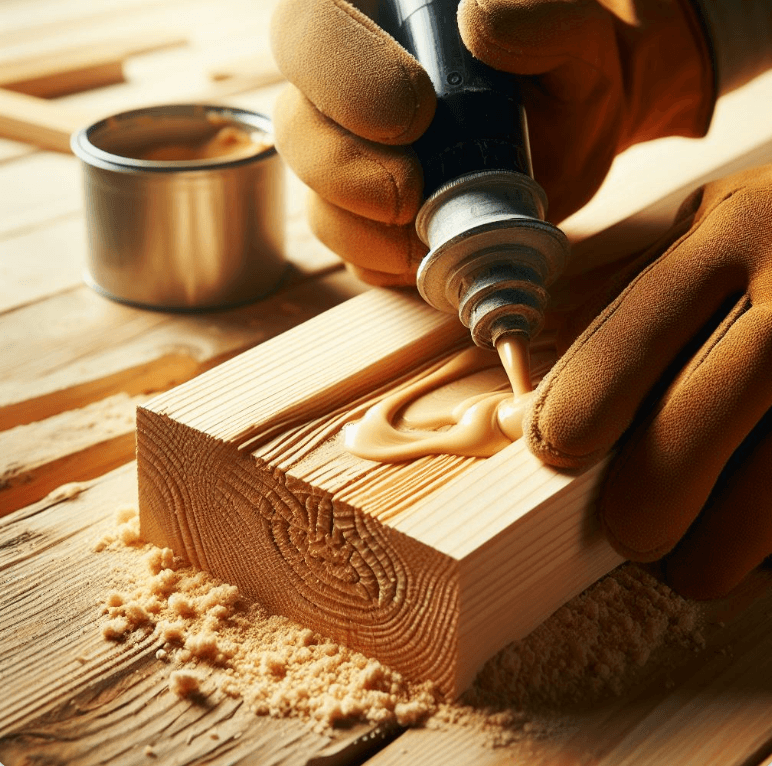
On pressure-treated wood, focus on removing any softened material and reinforcing the remaining solid wood with a hardener before filling.
The key in all these methods is to first address the root cause of the rot, whether it's moisture, insects, or fungus. Then you can use specialized products like epoxy consolidants, fillers, and replacement compounds to restore the wood without having to completely replace it. With the right techniques, you can revive rotted wood and maintain your home's structural and aesthetic integrity.
To repair rotted wood without replacement, start by using an epoxy consolidant to soak into and strengthen the damaged areas. This will help stabilize the wood before you apply any fillers or compounds. Next, try an epoxy-based wood filler to fill in gaps and restore the surface, sanding it smooth once dry. For a more easily workable option, consider a polyester-based wood repair compound. On pressure-treated wood, focus on removing softened material and reinforcing the remaining solid wood with a hardener before filling. The key is to address the root cause of the rot and use the right specialized products to revive the wood.
Shape the Epoxy on the Wood
Once the epoxy consolidant has been applied and has had time to soak into the wood, you can begin shaping it with a putty knife or other tool. Work the epoxy into any cracks or voids, building it up to match the surrounding wood. This will help strengthen the damaged area and provide a solid base for any additional fillers or coatings. Be sure to allow the epoxy to fully cure before proceeding.
After applying the epoxy consolidant to strengthen the wood, use a putty knife or other tool to carefully shape the epoxy. Work it into any cracks or voids, building up the material to match the level of the surrounding solid wood. This will help reinforce the damaged area and provide a sturdy foundation for any subsequent fillers or coatings. Make sure to allow the epoxy sufficient time to fully cure before moving on to the next steps.
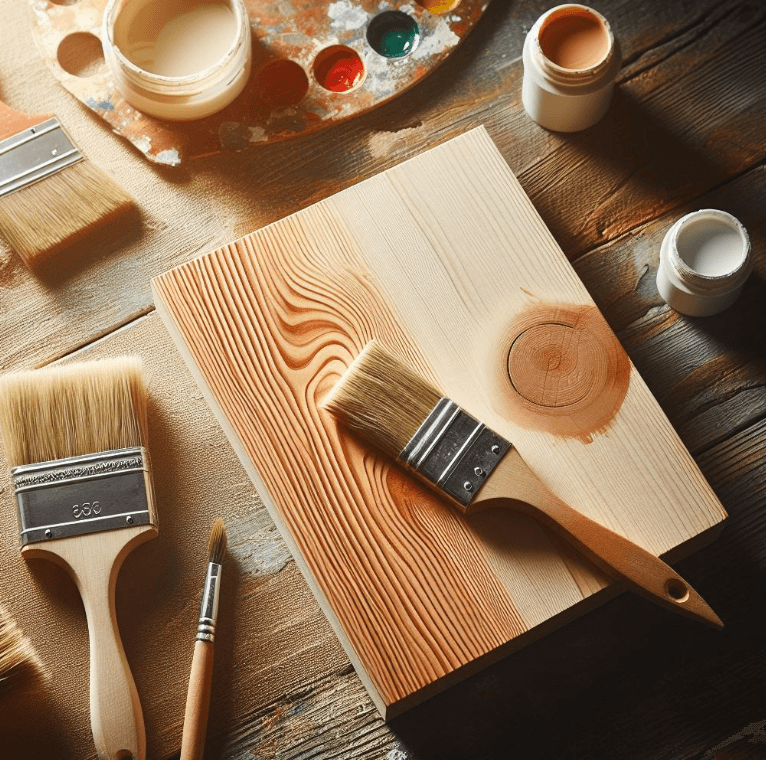
Paint or Stain Filler
Once the wood filler or epoxy has been applied and shaped, you can paint or stain it to match the surrounding wood. This will help the repair blend in seamlessly and prevent the need to replace the entire piece of wood. Use a high-quality exterior paint or wood stain, and apply it with a brush or paint sprayer for best results. Proper preparation and finishing will ensure the repaired area is both structurally sound and aesthetically pleasing.
Painting or staining the wood filler or epoxy is an important final step to make the repair blend in with the surrounding wood. This can prevent the need to completely replace the damaged component. Use a high-quality exterior paint or wood stain, and apply it carefully with a brush or paint sprayer for the best finish. Proper preparation and finishing will help the repaired area look as good as new while also restoring its structural integrity.
Sand Down Filler
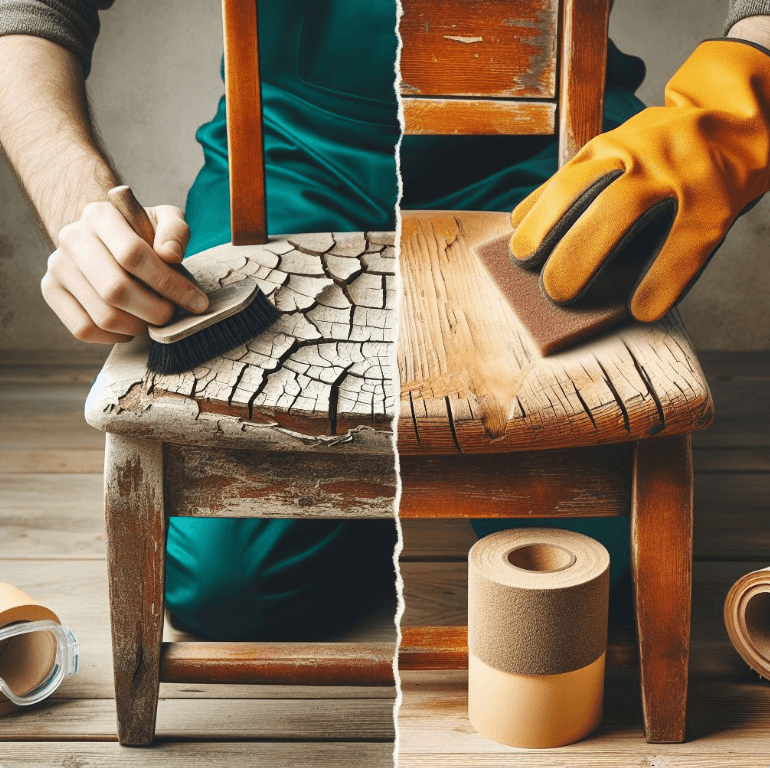
Once the wood filler or epoxy has fully cured, use a paint scraper or sanding block to smooth down the surface. This will help it blend in with the surrounding wood and prepare the area for painting or staining. Be sure to sand in the direction of the wood grain for the best finish. With the right sanding technique, you can make the repaired area virtually indistinguishable from the original wood.
After the wood filler or epoxy has had time to fully cure, use a paint scraper or sanding block to smooth down the surface. This will help the repair blend in seamlessly with the surrounding wood and get it ready for painting or staining. Be sure to sand in the direction of the wood grain to achieve the most natural-looking finish. With careful sanding, you can make the repaired area virtually indistinguishable from the original wood, eliminating the need to replace it.
Frequently asked questions
If you have any further questions or require assistance, please don't hesitate to reach out to our customer support team. We're here to help!
